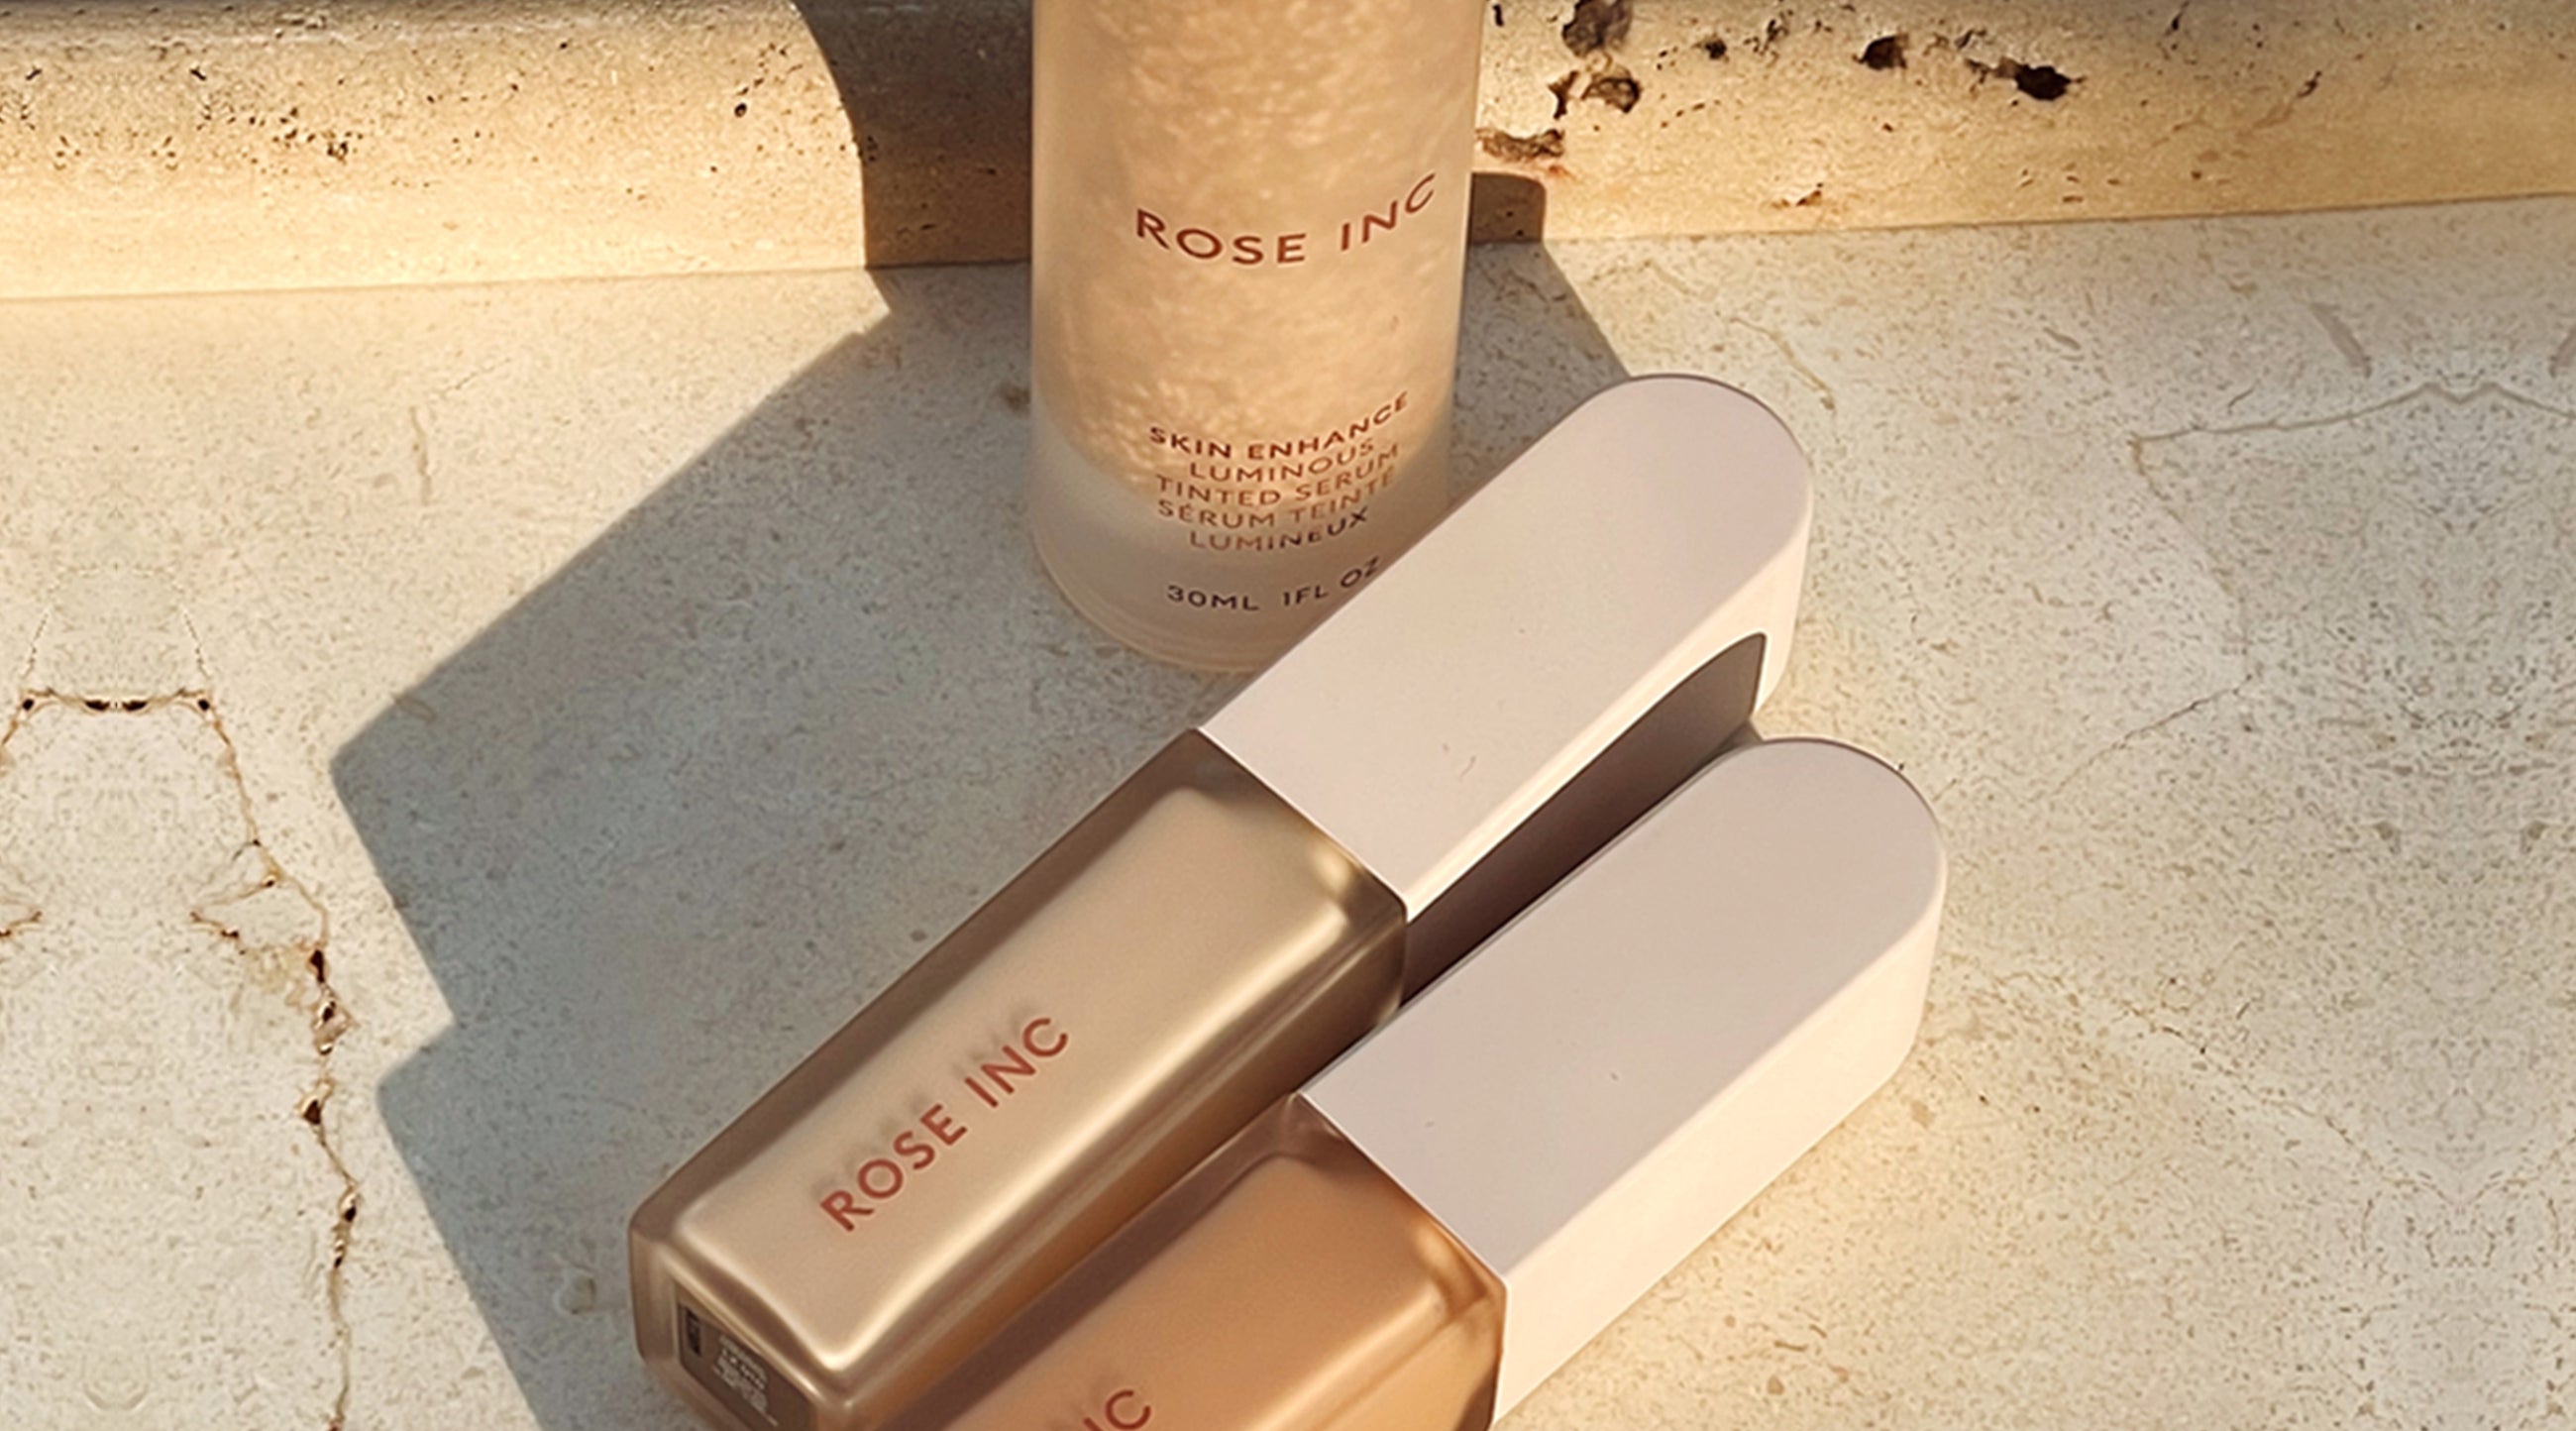
The Secret to Layering Tinted Serum and Concealer Flawlessly
Master the perfect application technique in four steps

If you’re on the hunt for a way to get the maximum length out of your natural lashes and give your eyes a more opened-up look, it’s time to hone your eyelash-curling skills. "It lifts lashes from the root and makes any mascara look better," says celebrity makeup artist Lisa Aharon.

Before curling your lashes, it’s important to ensure that they’re clean first. If you have leftover mascara or lash glue that's hardened and crusted on, makeup artist Nikki La Rose warns that your lashes could be at risk of breaking or being damaged. To prep them for curling, La Rose recommends taking a Q-tip soaked with micellar water and gently running it above and below the lashes.
There are a couple of different mirror angles that will help you curl your eyelashes. Aharon recommends looking straight into a mirror, whereas La Rose explains that looking slightly down into a mirror at an angle can be more comfortable for beginners. There’s no right or wrong way to look into a mirror while curling your eyelashes, though; do what feels the most comfortable for you.
Next, open your eyelash curler and place your top eyelashes on the eyelash pad. "Wiggle and adjust it until you've got all your lashes in position," Aharon says. "Then close slightly with a firm grip, but don't squeeze until you've made sure you don't have skin." Pro tip from La Rose: Ensure you're curling at the base of the lashes and as close as possible to the lash line for best results.
Investing in a good quality eyelash curler is also key. Aharon recommends opting for one that is comfortable and easy to position on the eyes, has a large opening and features a squishy eyelash pad. A silicone eyelash pad that's not too soft or hard is ideal as it won't cause lash breakage and enables lashes will be curled without kinks or crimps. Rose Inc’s new Eyelash Curler checks all those boxes with the added benefits of an ergonomic handle and a thoughtfully designed curve, suitable for all eye shapes.

Once you’ve ensured you’re not pinching any skin, give the lash curler a few light squeezes instead of one hard one. “This will ensure a softer bend rather than a 90-degree sharp angle," Aharon says. La Rose suggests gently wiggling the lash curler back and forth and up and down as you hold the squeeze to give the lashes a 3-D curl instead of a sharp crimp. No matter what maneuvers you opt for, be sure not to tug too hard on your eyelashes or eyelids.
Once your lashes are curled, Aharon says you can go in and apply your favorite mascara. "I prefer curling them before [applying mascara] to avoid the curler sticking to the lashes and potentially pulling them out," she says.
Another little-known fact? How you apply mascara can also impact the curl. "Make sure you're getting that wand into the root of your lashes," La Rose says. Starting at the root, wiggle the mascara wand back and forth, pull up along the lashes and repeat until they’re all coated. This ensures lashes get covered from root to tip, which will help seal the curl.
If you’re opting for false lashes, La Rose says the reverse process is best. Whether using a strip lash or individual lashes, apply them first and then curl afterward. Doing so allows you to clamp the false lashes with your own lashes and curl them together so they blend seamlessly. If you have extremely straight lashes, though, she recommends curling your natural lashes first, then applying the false lashes and finishing it with one more curl to blend them together. Lastly, like with all beauty tools, ensure you clean your eyelash curler regularly to remove any makeup residue and bacteria.
Besotted
Beige pink
Add items to your bag to unlock this gift.
Heliotrope/Enigmatic
Apricot & Terracotta Pink
Satin Copper
Rich red copper
White Gold Shimmer
Light gold with pearl