


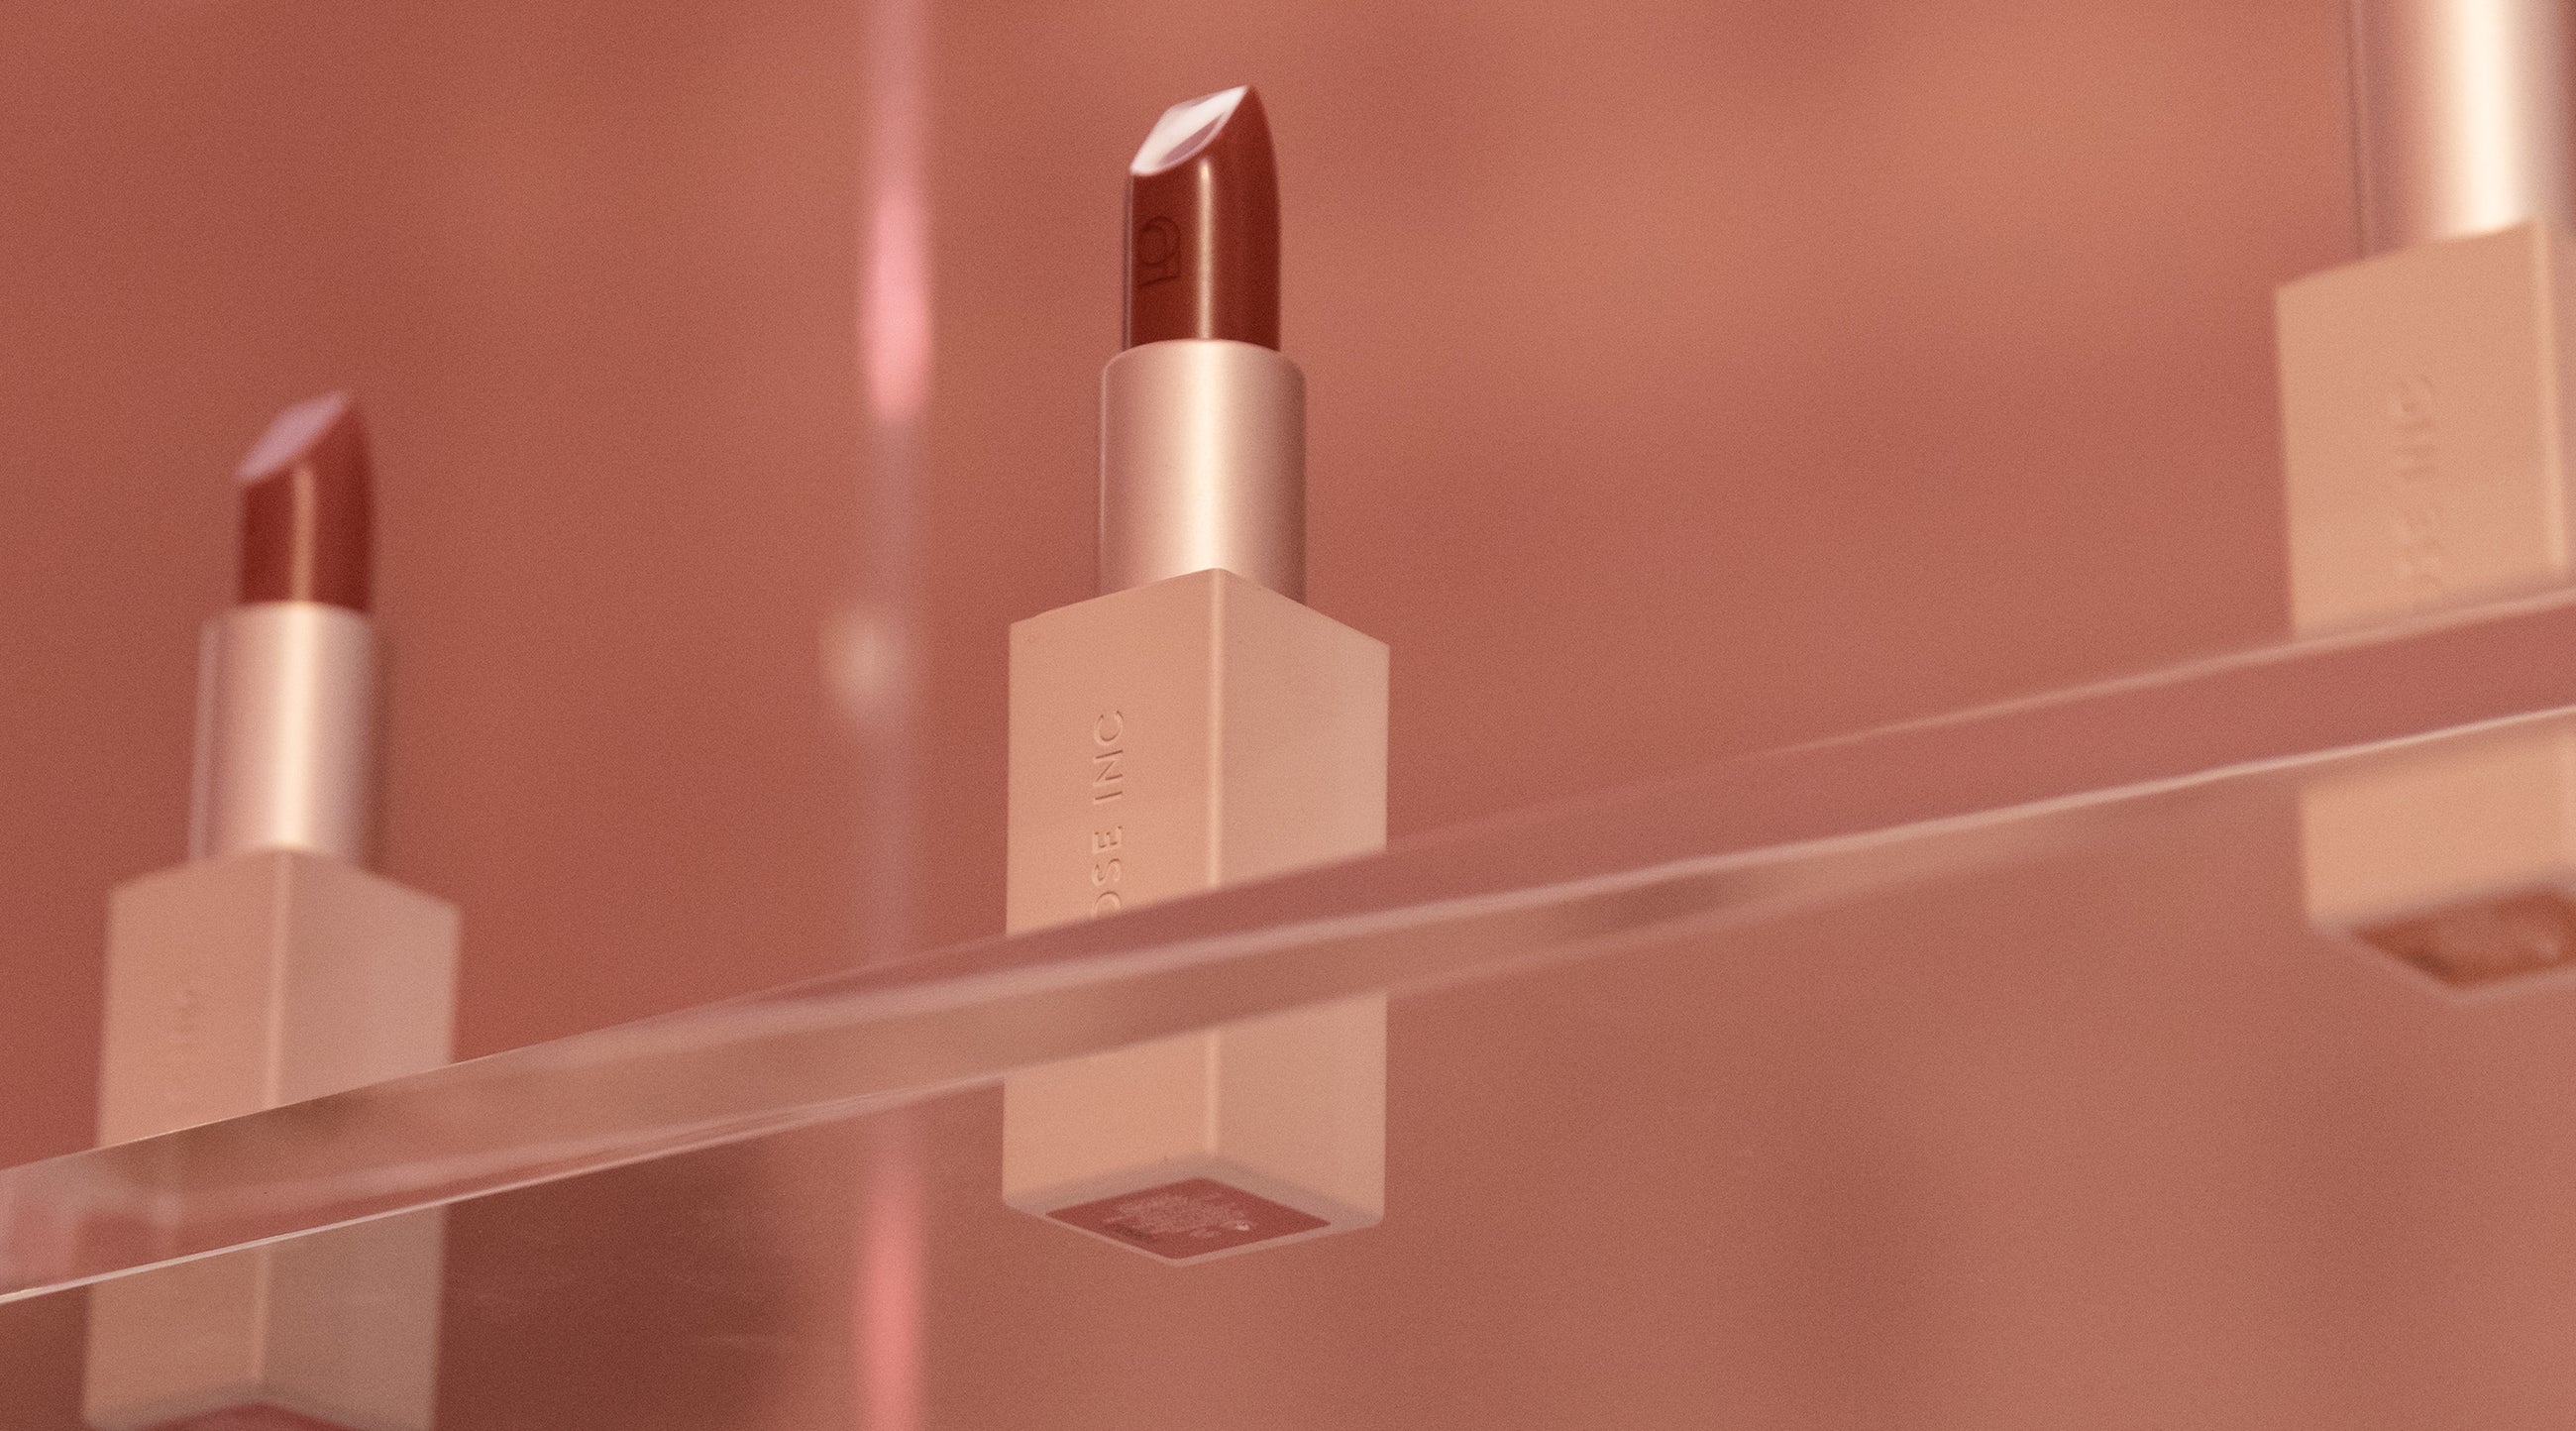
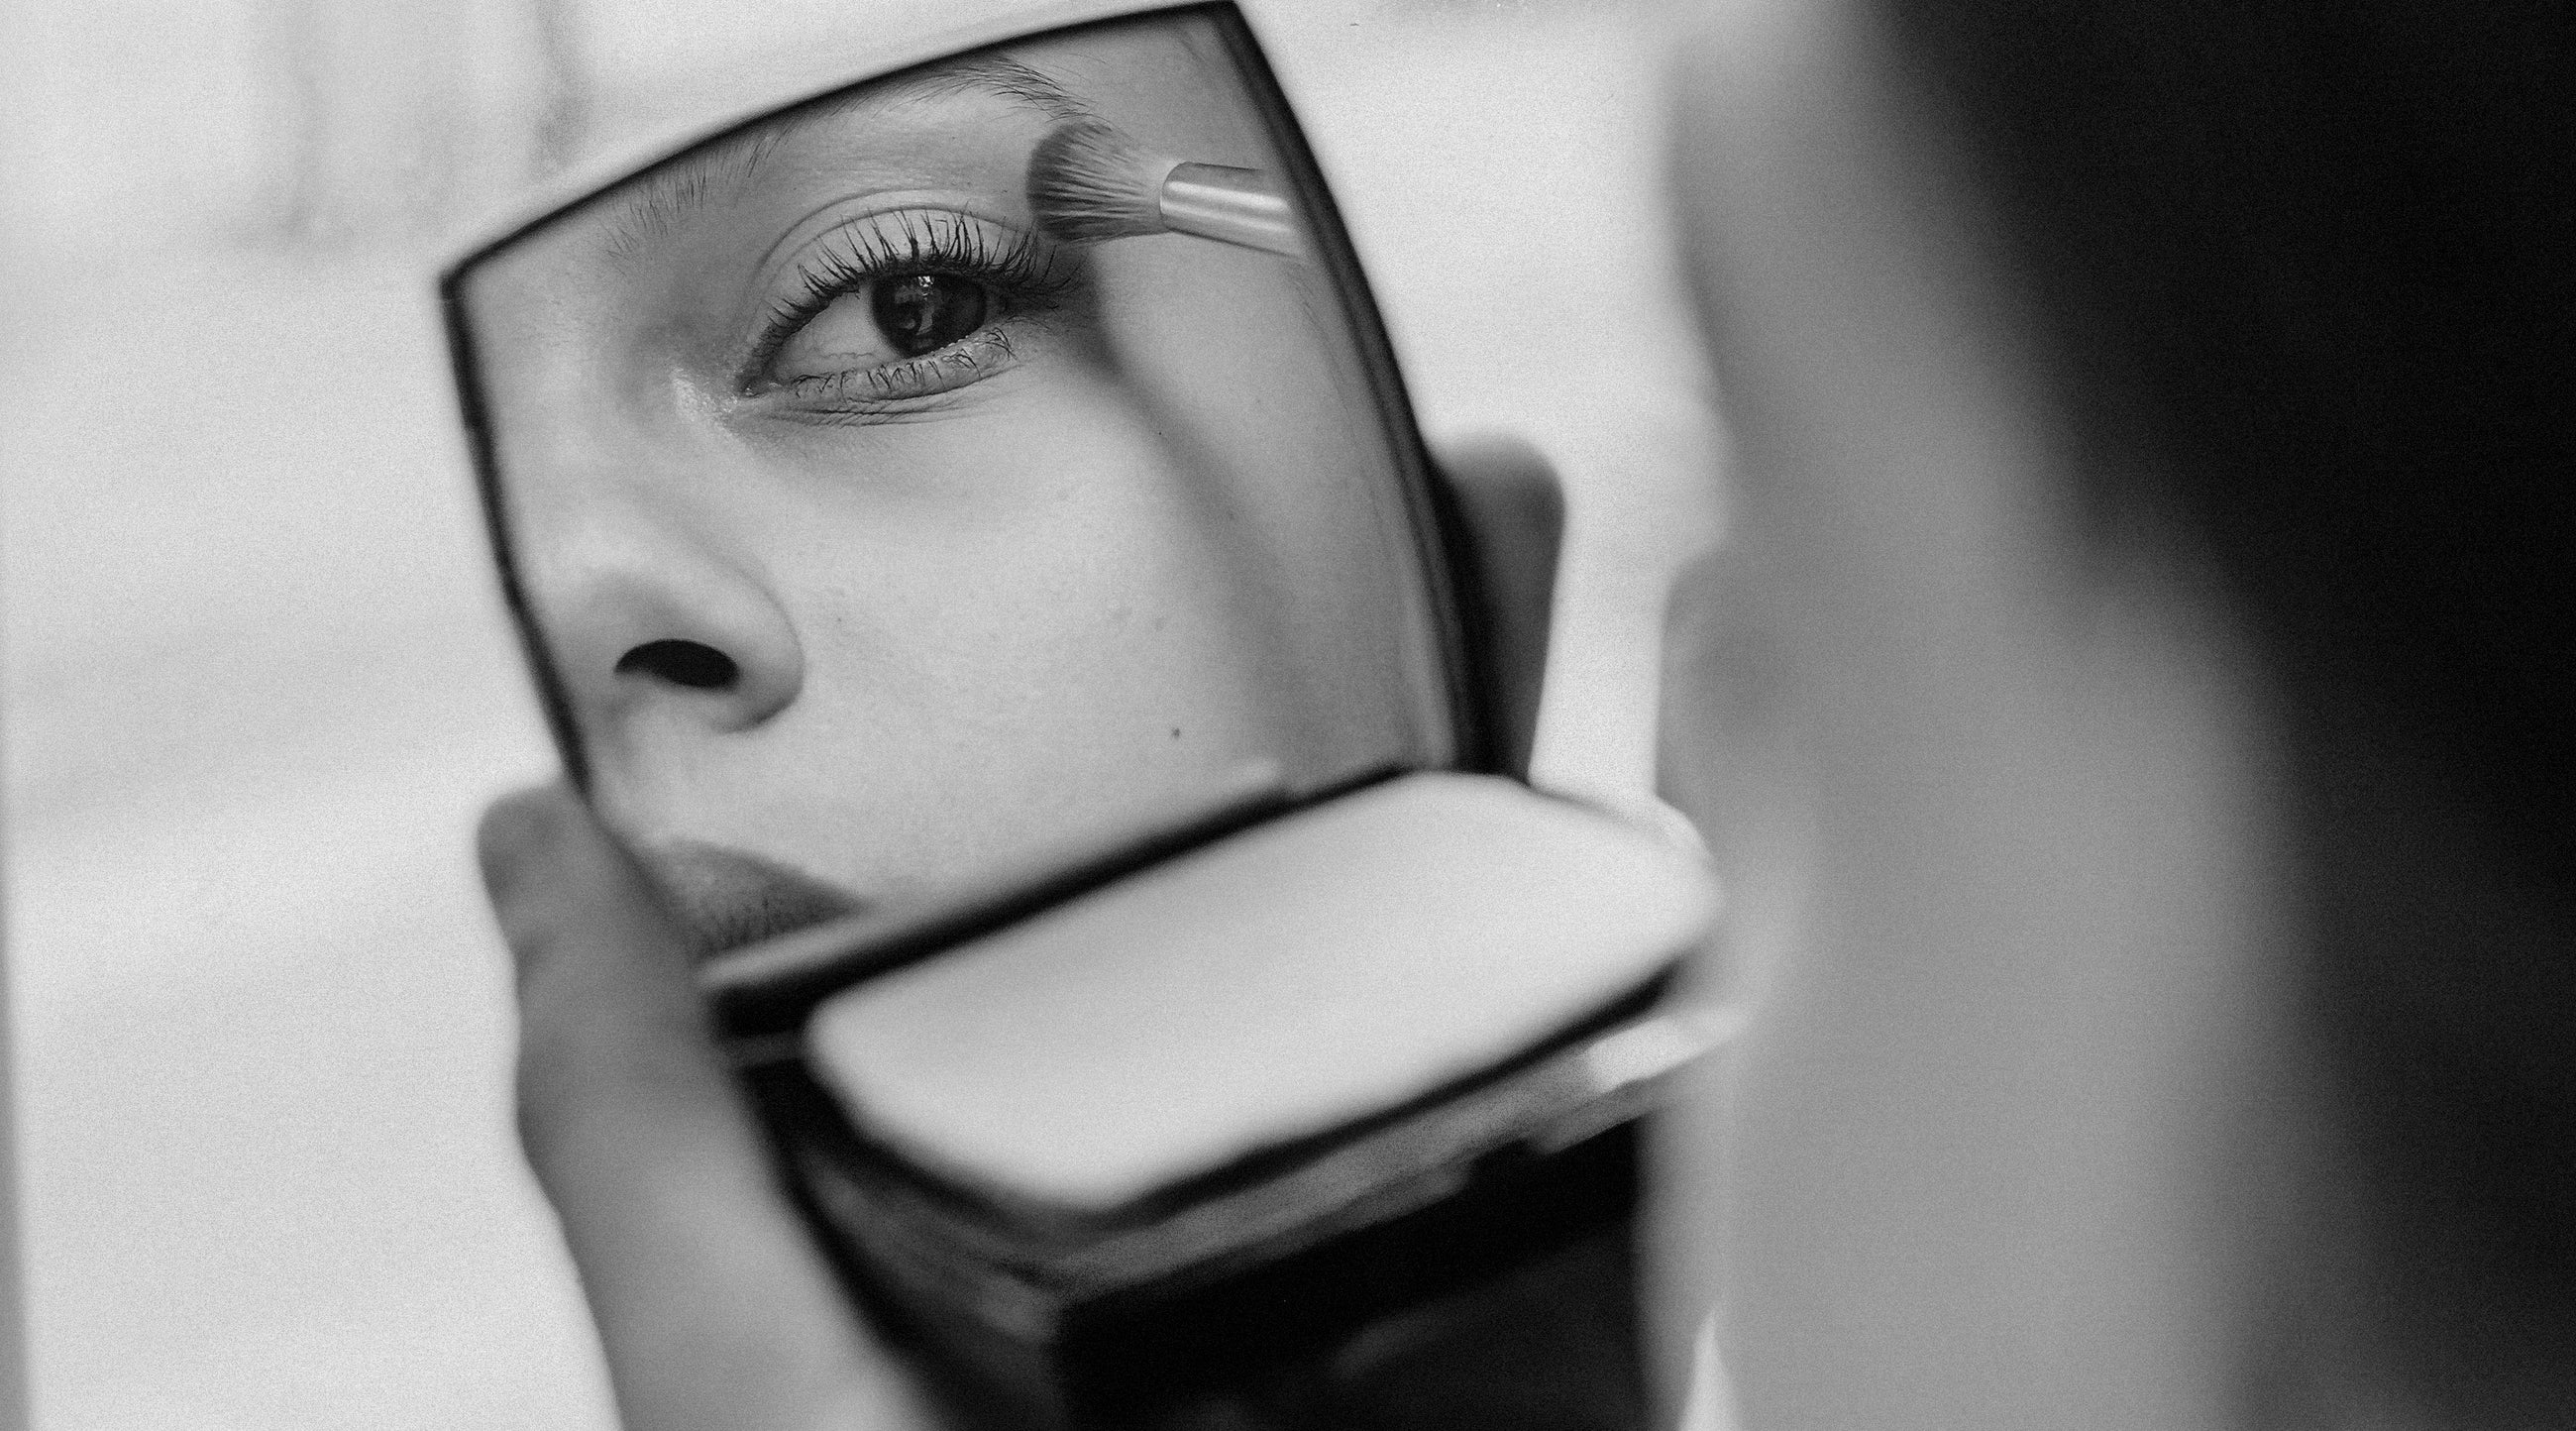
Your Definitive Guide to Makeup Expiration Dates
Hint: If you bought your lipstick before the pandemic, it’s time to refresh it.
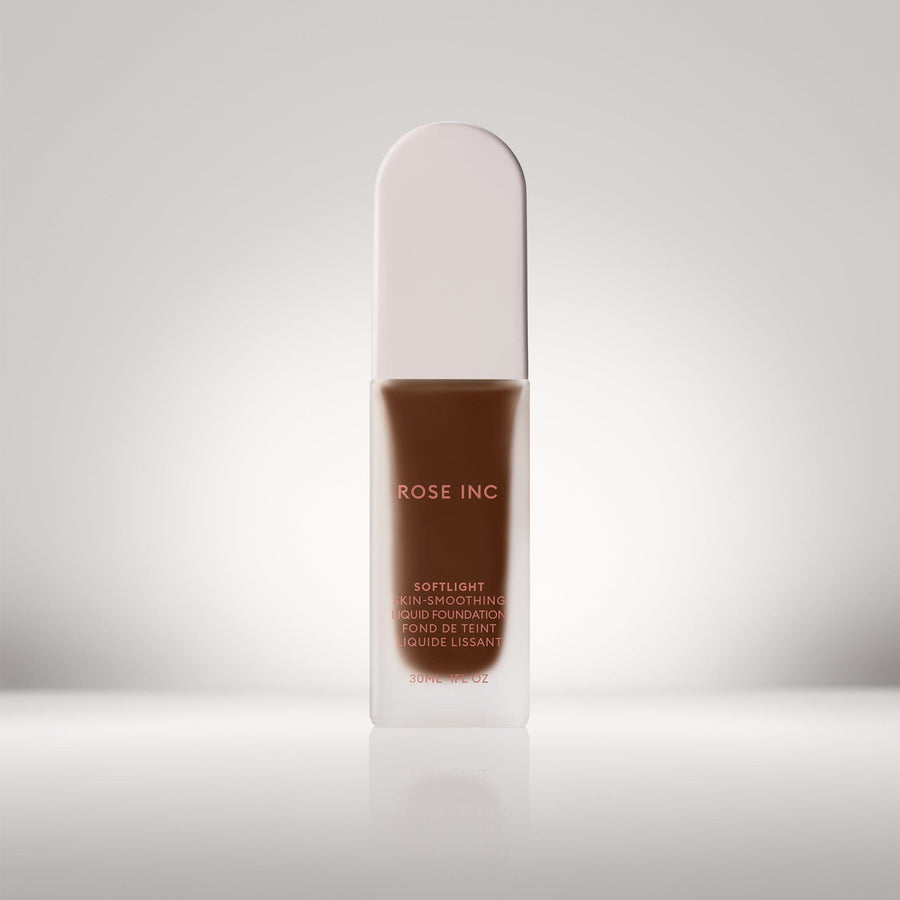
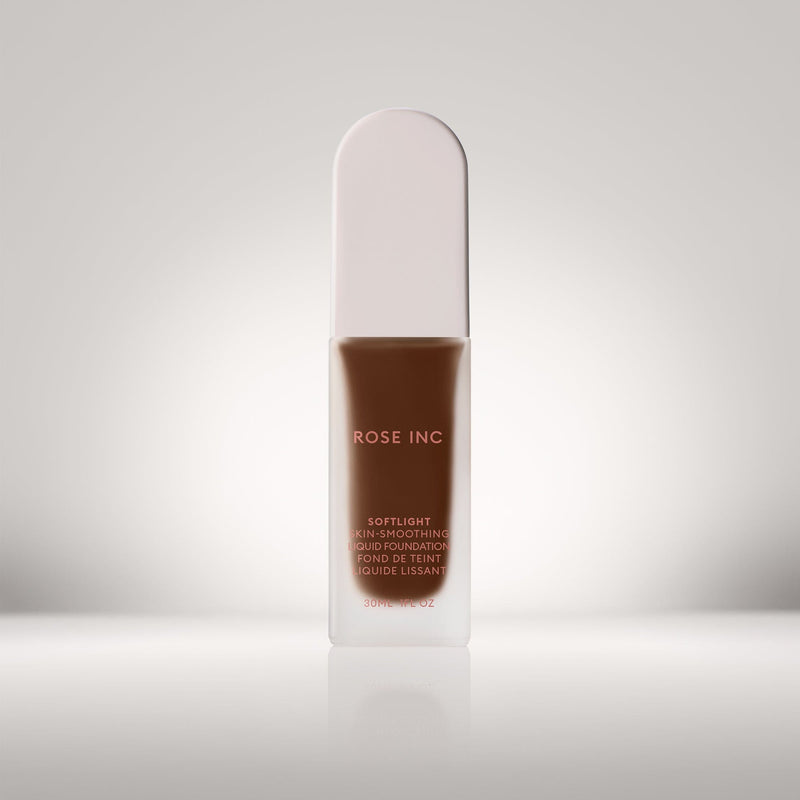
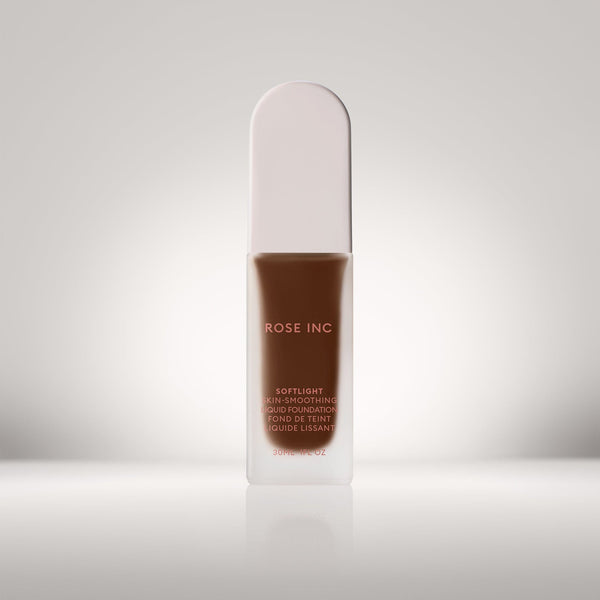
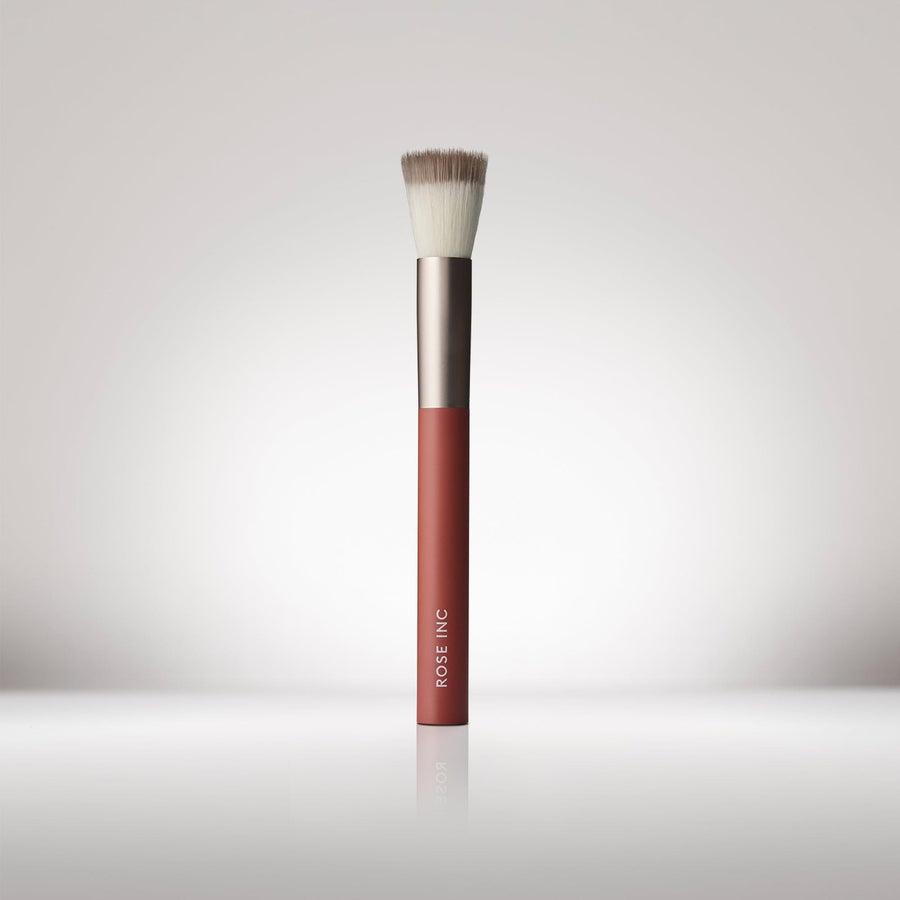
A medium-buildable foundation with a smooth, soft-matte finish.
31N
Deep with Neutral Undertone
30W
Deep with Warm Red Undertone
29N
Deep with Neutral Red Undertone
28W
Deep with Warm Golden Undertone
27C
Deep with Cool Red Undertone
26N
Deep with Cool Red Undertone
25W
Deep with Warm Golden Undertone
24W
Medium-Deep with Warm Olive Undertone
23C
Medium-Deep with Cool Pink Undertone
22N
Medium-Deep with Neutral Undertone
21W
Medium-Deep with Neutral Undertone
20N
Medium-Deep with Neutral Golden Undertone
19N
Medium-Deep with Neutral Undertone
18W
Medium-Deep with Warm Golden Undertone
17C
Medium with Cool Pink Undertone
16W
Medium with Warm Olive Undertone
15N
Medium with Neutral Golden Undertone
14W
Medium with Warm Peach Undertone
13N
Medium with Neutral Undertone
12C
Medium with Cool Neutral Undertone
11W
Medium with Warm Golden Undertone
10N
Light-Medium with Neutral Olive Undertone
9W
Light-Medium with Warm Peach Undertone
8N
Light with Neutral Undertone
7C
Light with Cool Pink Undertone
6W
Light with Warm Golden Undertone
5N
Light with Neutral Undertone
4W
Light with Warm Golden Undertone
3N
Fair with Neutral Undertone
2N
Fair with Neutral Olive Undertone
1C
Fair with Cool Pink Undertone
31N
Deep with Neutral Undertone
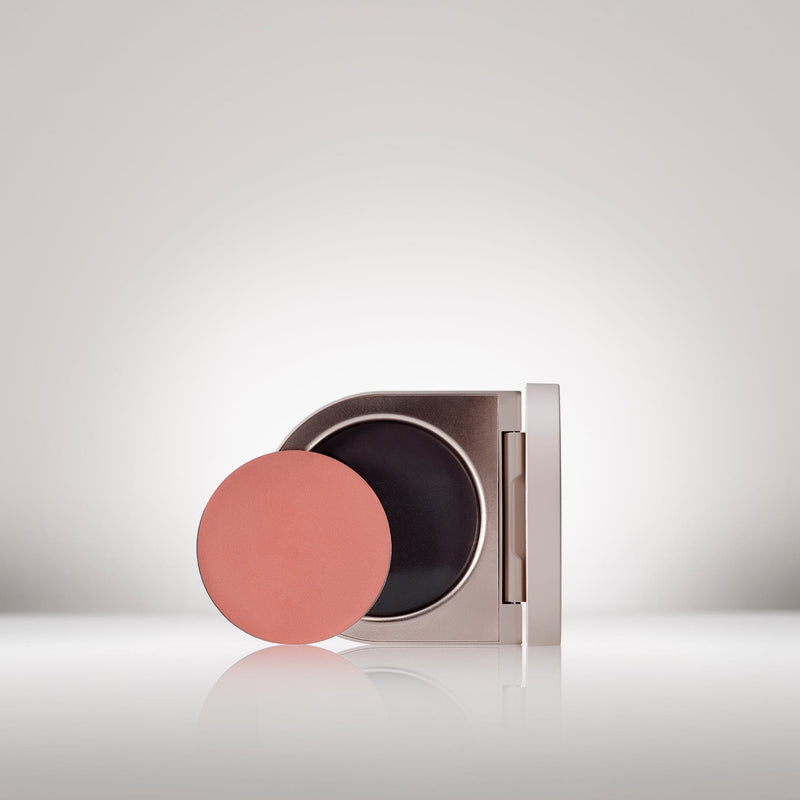
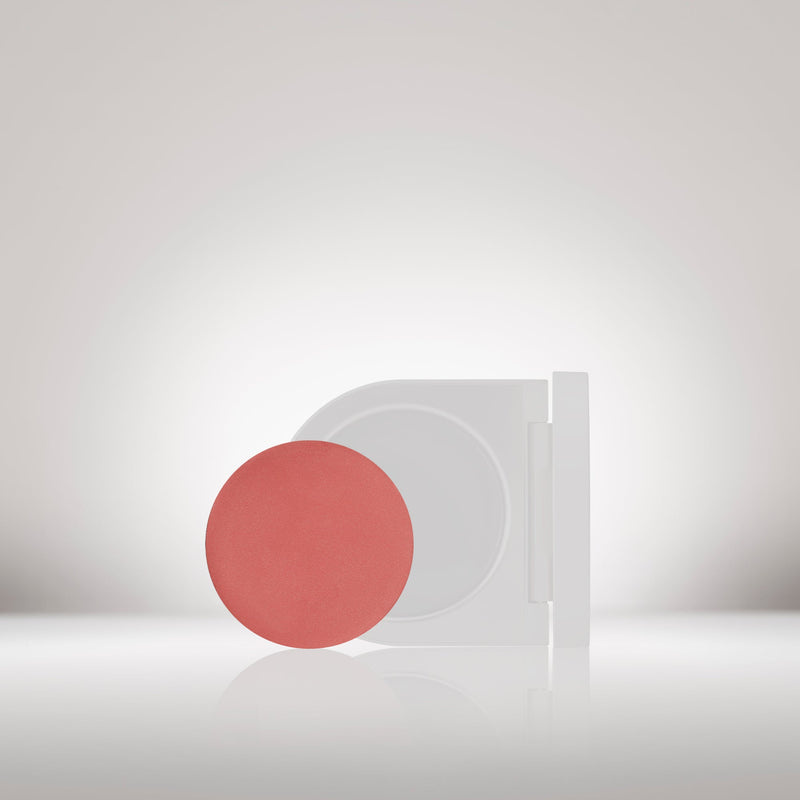
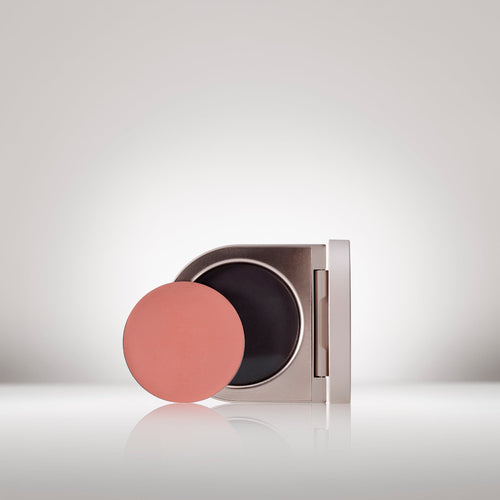
Medium Coverage, brightening, balancing


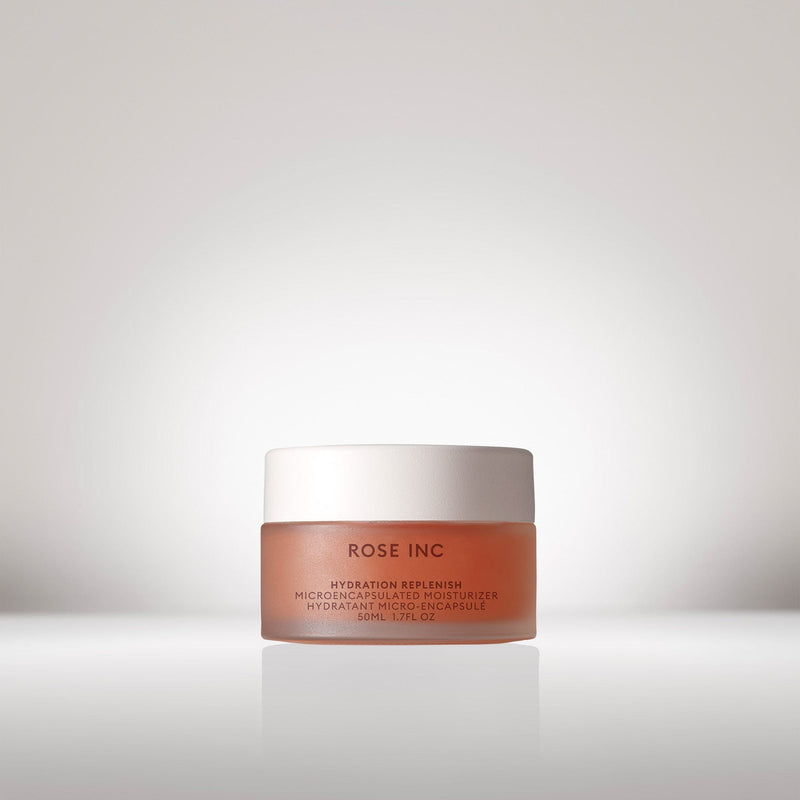
A hydrating cream that brightens and blurs with a radiant...
Hydrangea
Light cool pink
Wisteria
Coral pink
Anemone
Coral
Heliotrope
Apricot
Delphine
Muted peach
Daylily
Rich taupe
Foxglove
Warm terracotta
Ophelia
True pink
Camellia
Mauve
Hibiscus
Bright plum
Azalea
Berry
Dahlia
Deep berry
Hydrangea
Light cool pink
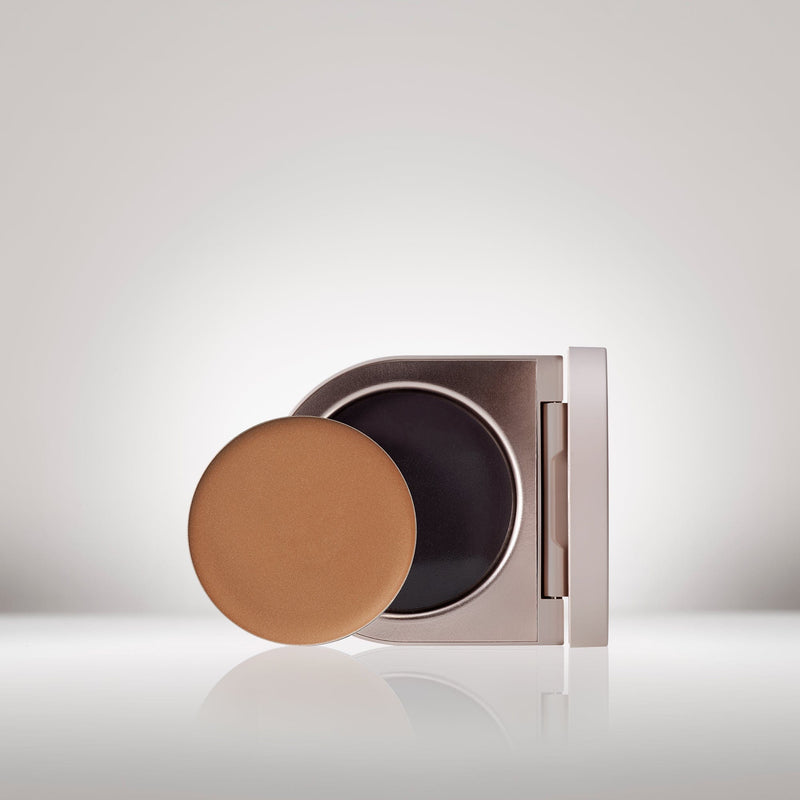
Brightening, blurring and longwearing

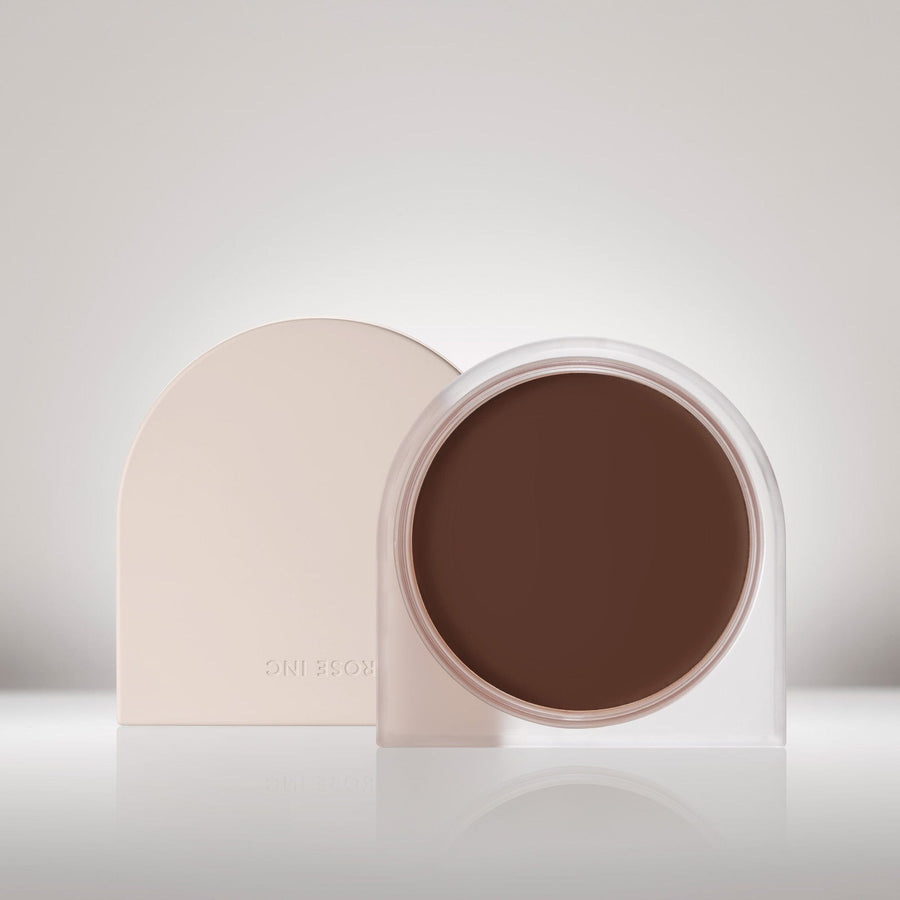
A does-it-all concealer that brightens, blurs and contours while nourishing...
LX 200
Very Deep Skin Tone, Neutral Undertone
LX 190
Very Deep Skin Tone, Cool Red Undertone
LX 180
Deep Skin Tone, Warm Neutral Undertone
LX 170
Deep Skin Tone, Golden Undertone
LX 160
Deep Skin Tone, Red Undertone
LX 150
Deep Skin Tone, Neutral Undertone
LX 140
Medium/Deep Skin Tone, Neutral Undertone
LX 130
Medium/Deep Skin Tone, Warm Golden Undertone
LX 120
Medium/Deep Skin Tone, Pink Undertone
LX 110
Medium/Deep Skin Tone, Golden Undertone
LX 100
Medium/Deep Skin Tone, Peach Undertone
LX 090
Medium Skin Tone, Olive Undertone
LX 080
Medium Skin Tone, Pink Undertone
LX 070
Medium Skin Tone, Golden Undertone
LX 060
Medium Skin Tone, Peach Undertone
LX 050
Light/Medium Skin Tone, Neutral Undertone
LX 040
Light/Medium Skin Tone, Golden Neutral Undertone
LX 030
Light Skin Tone, Pink Undertone
LX 020
Light Skin Tone, Peach Undertone
LX 010
Fair Skin Tone, Neutral Undertone
LX 200
Very Deep Skin Tone, Neutral Undertone
Medium coverage, brightening, blurring
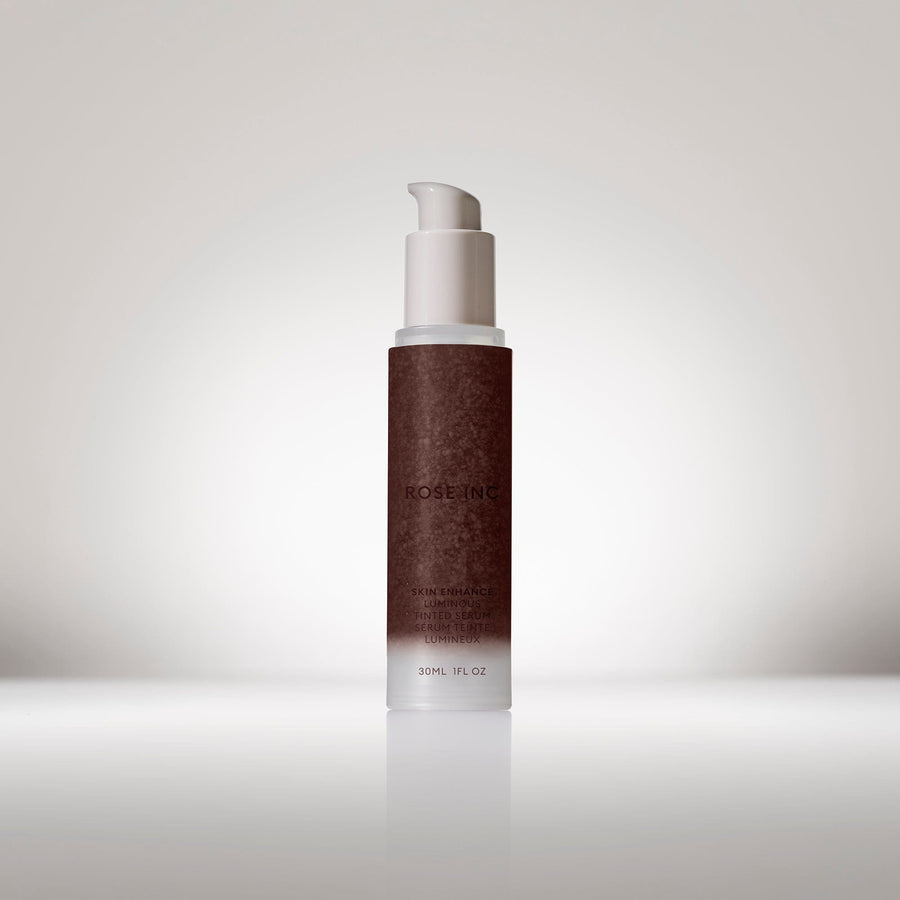
A hydrating skin tint that delivers powerful skincare and sheer,...
140
Very Deep Skin Tone/Red Undertone
130
Deep Skin Tone/Neutral Undertone
120
Deep Skin Tone/Red Undertone
110
Deep Skin Tone/Golden Undertone
100
Medium Deep Skin Tone/Golden Undertone
090
Medium Deep Skin Tone/Olive Undertone
080
Medium Tan Skin Tone/ Peach Undertone
070
Medium Skin Tone/Peach Undertone
060
Medium Skin Tone/ Neutral Undertone
050
Medium Skin Tone/ Pink Undertone
040
Light to Medium Skin Tone/ Neutral Undertone
030
Light Skin Tone/ Warm Golden Undertone
020
Light Skin Tone/Warm Peach Undertone
010
Fair Skin Tone/ Cool Pink Undertone
140
Very Deep Skin Tone/Red Undertone
Sheer Coverage, illuminating, hydrating

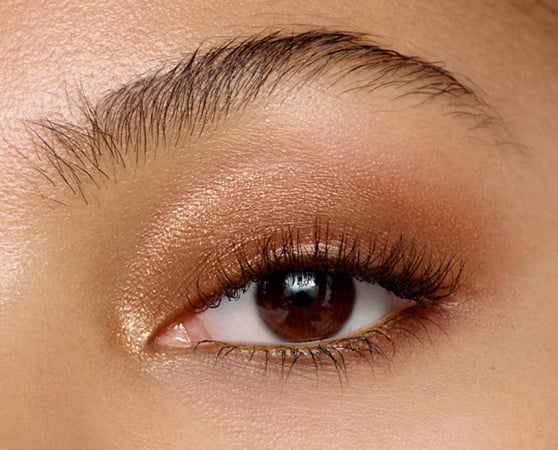
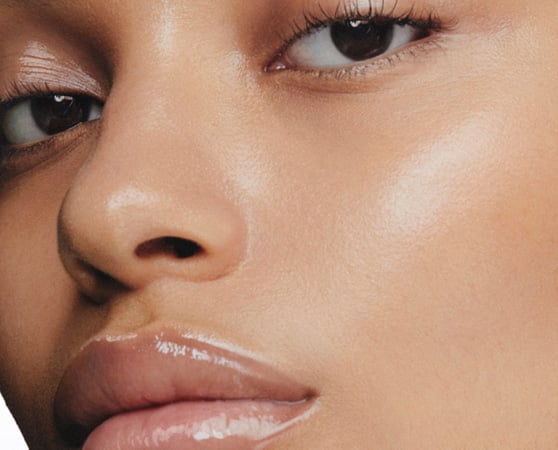
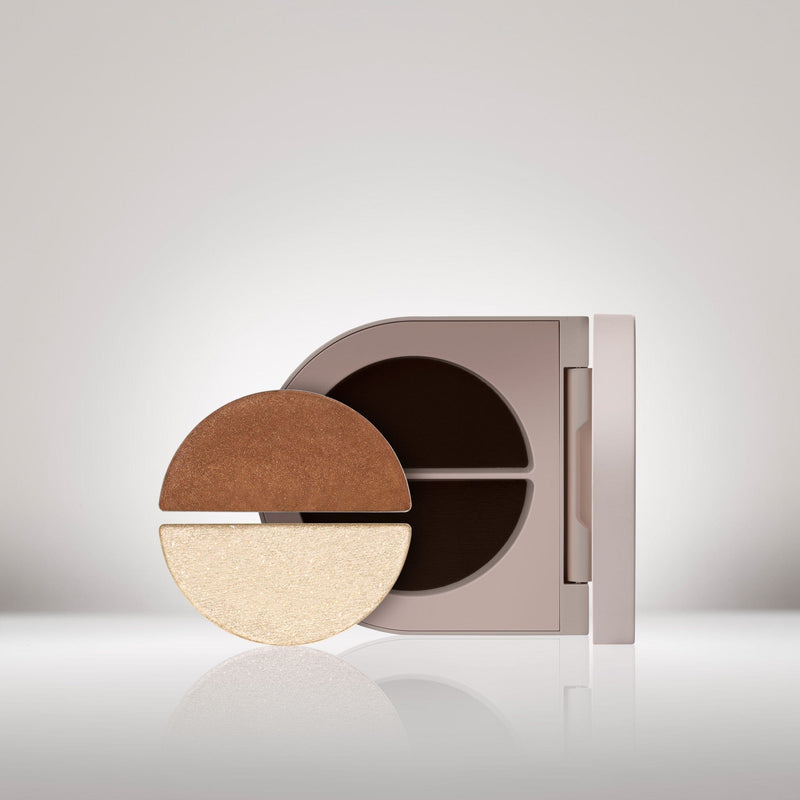
Highlighter has become a staple in many makeup bags and for good reason. While bronzer adds warmth to the face and blush adds color, highlighter provides a beautiful lit-from-within glow and adds dimension to the face by drawing attention to areas you want to pop such as the cheekbones, brow bone and the inner corner of the eyes. And, they come in various different formulas and textures (think creams, powders and liquids) and shades (champagne, pearl and bronze). In addition to the right tools and technique, a flawless highlighter application also requires proper placement to achieve the desired effect.
Below, Dominique Lerma, a MODA Brush executive makeup artist, walks us through a winning combination of highlighter, bronzer and blush and shares her favorite and most creative ways to achieve both a subtle glow or a shimmer-inducing effect.

Lerma loves a pop of highlight in the inner corner of the eyes hugging the inner tear duct. “This will give the appearance of a wide awake and ethereal look,” she says. Use a small smudger brush for this placement, she says, which is the perfect shape to create a “V” shape for the inner-eye corner.
To bring more radiance to the eye area, Lerma suggests applying highlighter on the brow bone using the same smudger brush.
The lip area also deserves a little glow, hence why the cupid’s bow is another popular highlighter placement. “This creates the illusion of pulling the lip upward, which will naturally have the lip appear larger,” Lerma says.

“I absolutely love a highlighter moment on the décolleté and collarbone, especially when wearing garments that showcase these delicate areas,” Lerma says. “It helps the skin photograph as youthful and hydrated, and it also ties the makeup look together.”
For a red carpet-worthy look, Lerma suggests using a bronzy highlighter that’s also hydrating, which will create a sunkissed glow. Apply the highlighter with a stippling brush to give it a light, barely-there finish.
Applying highlighter to the bridge of the nose helps bring the dewy look together, Lerma says. But if you don’t want to draw attention to your nose, you can skip this highlighter placement. If you do want to add some dimension to the area, Lerma advises abiding by the “less is more rule.” Here’s how: Apply a small amount of cream highlighter using a stippling brush, and then use your ring finger to warm it up and help it blend into the skin.

Mastering the perfect highlighter placement also requires understanding blush and bronzer placement. Lerma says blush placement can be very personal and depends on the person’s face shape and desired effect (i.e., rounding out the face or elongating the cheekbones). But generally, blush should be applied to the apples of the cheeks for a subtle flush of color. To apply blush, Lerma asks her clients to smile and then gently sweeps the product on the apples of the cheek using a fluffy, tapered brush. If there’s excess product on the brush, she’ll then swipe it on the forehead and the bridge of the nose to bring it all together.
Bronzer adds warmth to the face. For the best placement, Lerma recommends applying it strategically on the outskirts of the face using a round tapered brush, which deposits the product with precision. “I apply bronzer with a sweeping motion in the shape of the number three on the outskirts of the face,” she says. Then chisel the cheekbones and finish by curving the bronzer onto the jawline.

A velvet-soft cream that illuminates the complexion while smoothing the...
Lustrous
Rich copper
Glancing
Rosy bronze
Prismatic
Warm gold
Opalescent
Cool pink
Brilliant
Pearl
Lustrous
Rich copper
Illuminating, smoothing and non-comedogenic
A petite dual-fiber brush that delivers seamless cream highlighter application.
Sweeping, effortless and vegan
A mistake-proof bronzer that instantly warms the complexion while blurring...
Capri
Deep
Seychelles
Medium-deep
Kauai
Medium
Parrot Cay
Light
Capri
Deep
Smoothing, antioxidant-rich and non-comedogenic
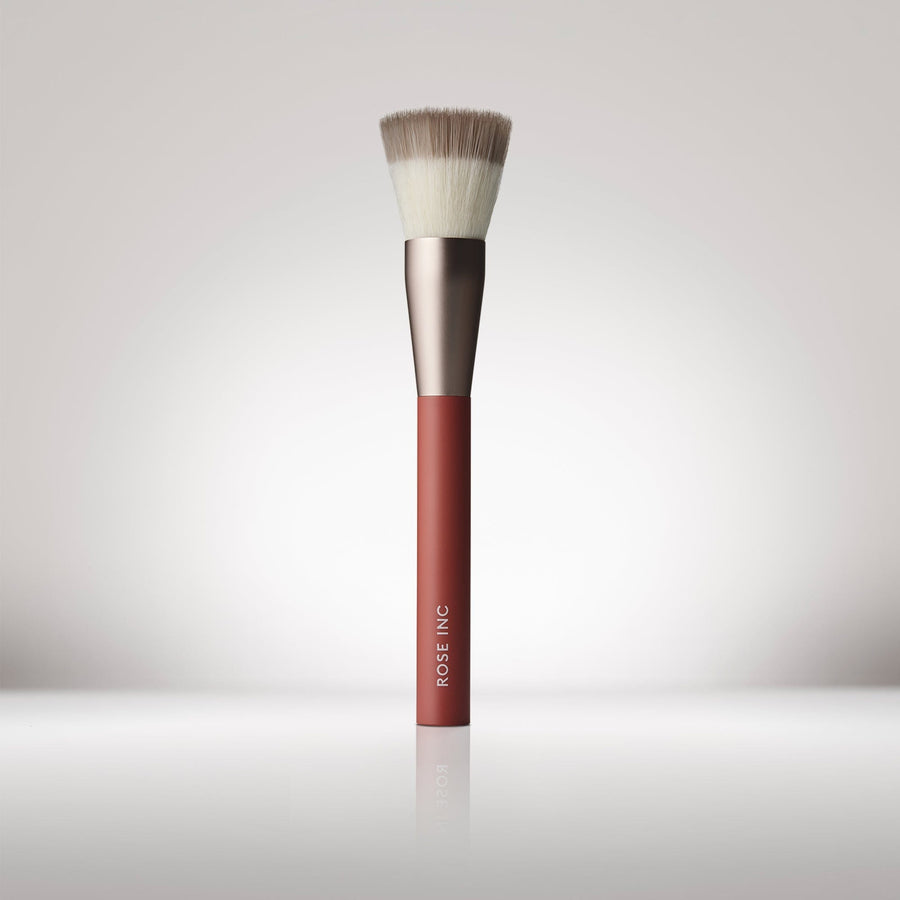
A dual-fiber brush designed for buffing and stippling cream bronzer...
Buffing, seamless and vegan
Hint: If you bought your lipstick before the pandemic, it’s time to refresh it.
A fail-proof protocol for cooler temperatures
Dr. Ashley Brissette shares her best practices

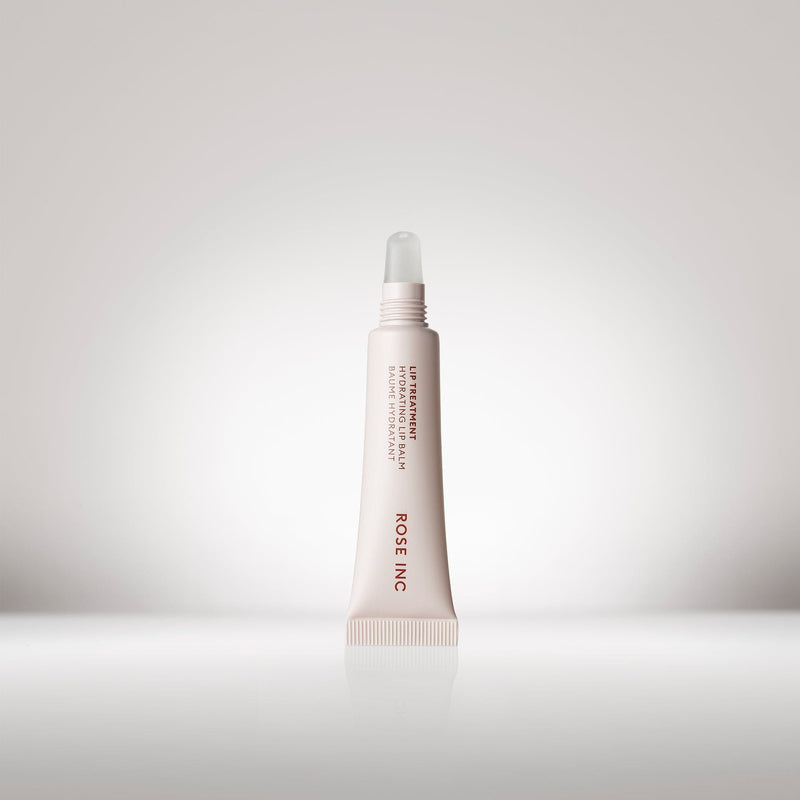
An intensely hydrating treatment that restores pillowy bounce to lips.
An intensely hydrating treatment that restores pillowy bounce to lips.
A hydrating cream that brightens and blurs with a radiant...
Hydrangea
Light cool pink
Wisteria
Coral pink
Anemone
Coral
Heliotrope
Apricot
Delphine
Muted peach
Daylily
Rich taupe
Foxglove
Warm terracotta
Ophelia
True pink
Camellia
Mauve
Hibiscus
Bright plum
Azalea
Berry
Dahlia
Deep berry
Hydrangea
Light cool pink
A hydrating cream that brightens and blurs with a radiant...
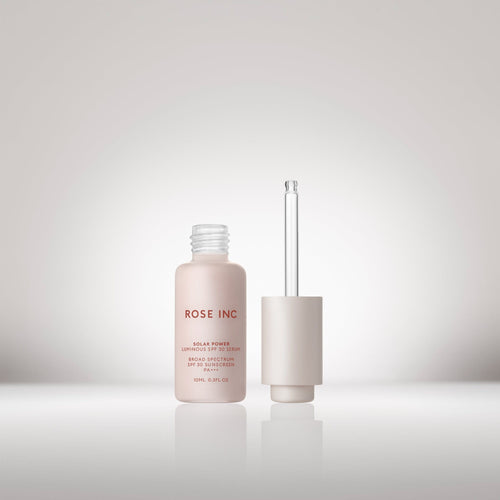
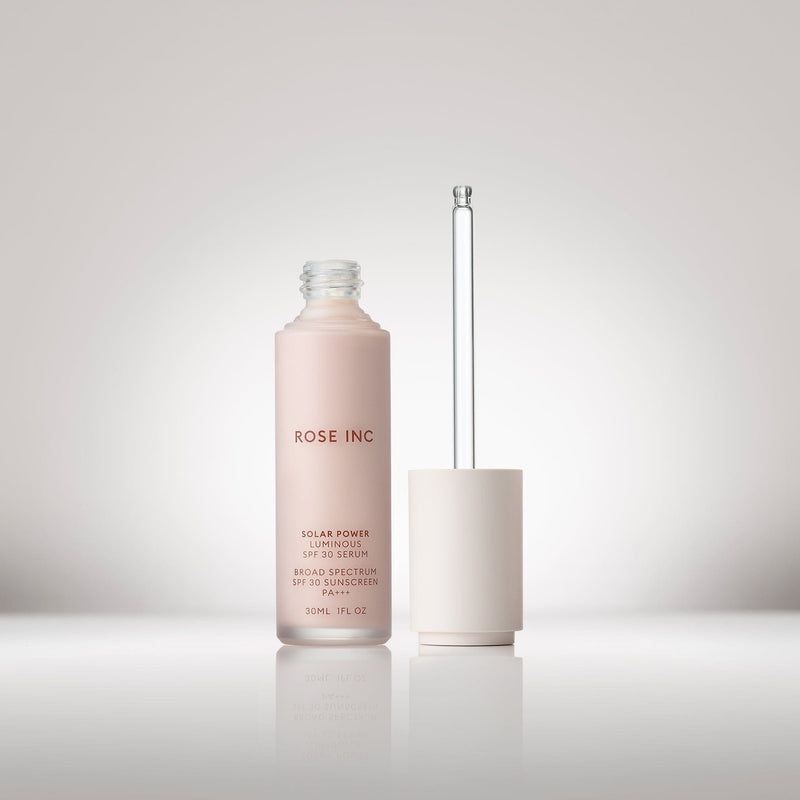
A non-comedogenic, daily sunscreen with the benefits of a brightening...
A non-comedogenic, daily sunscreen with the benefits of a brightening...
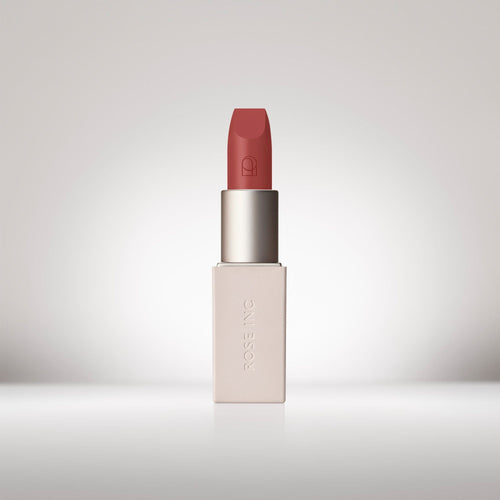
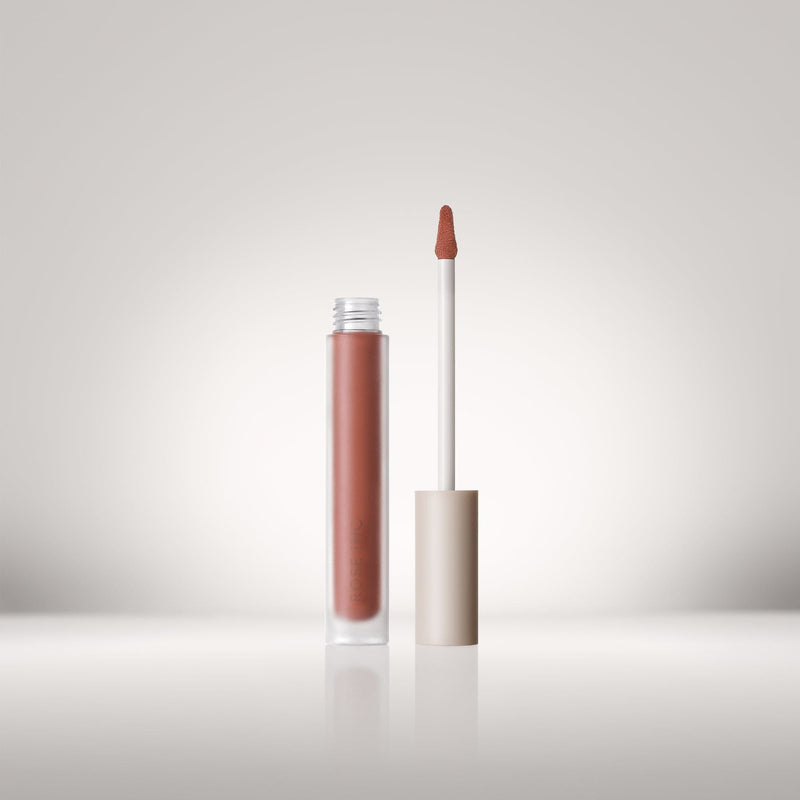
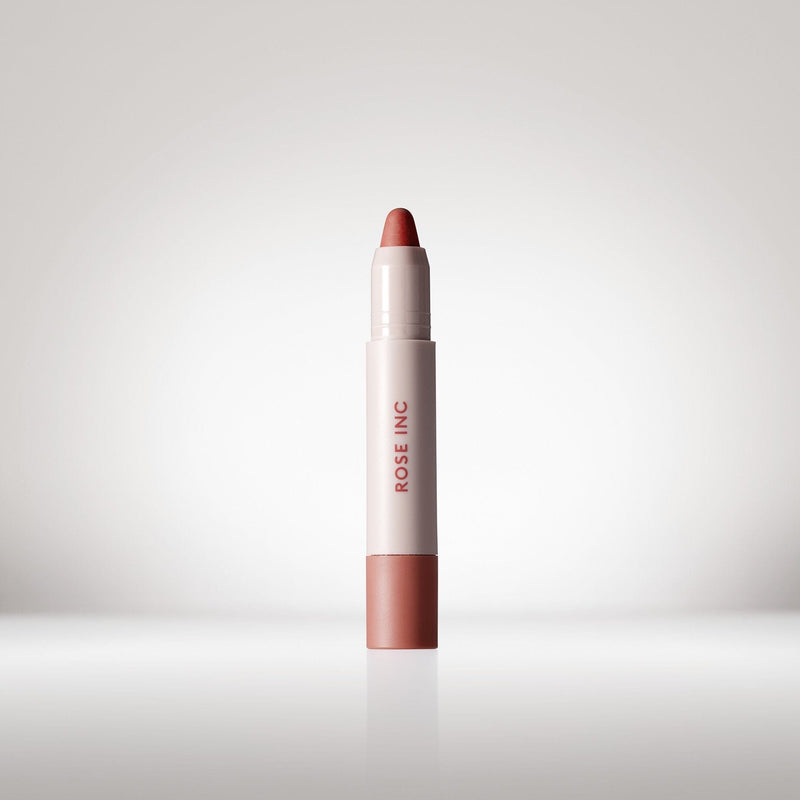
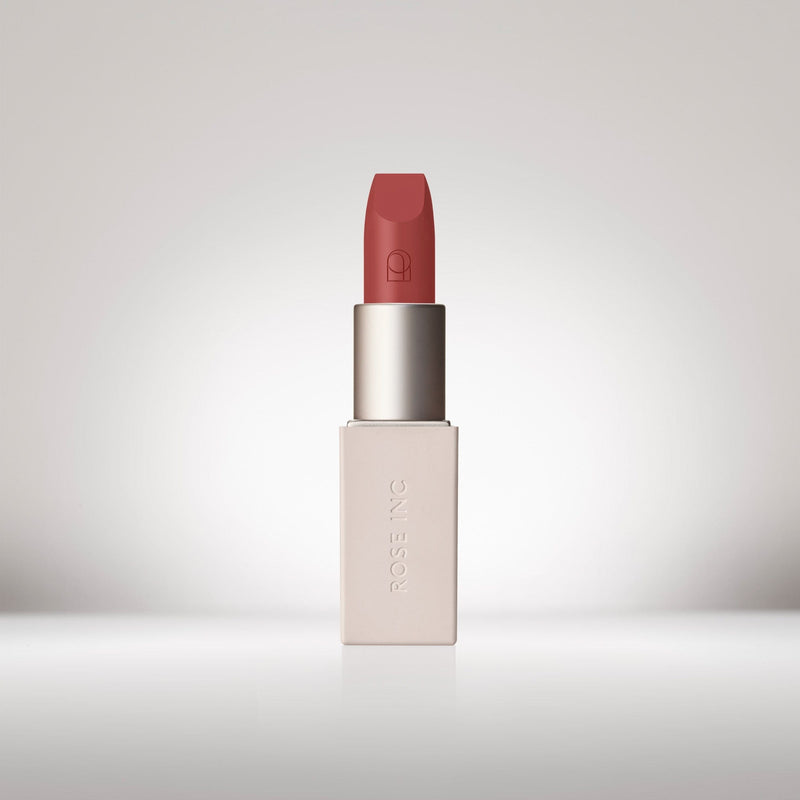
Creamy lipstick that plumps the lips while drenching delicate skin...
Besotted
Beige pink
Hypnotic
Sandy beige
Poetic
Muted coral
Enigmatic
Terracotta pink
Persuasive
Warm rose
Graceful
Golden brown
Poised
Deep brick
Demure
Cool blush
Intuitive
Deep mauve
Eloquent
Soft plum
Besotted
Beige pink
Creamy lipstick that plumps the lips while drenching delicate skin...
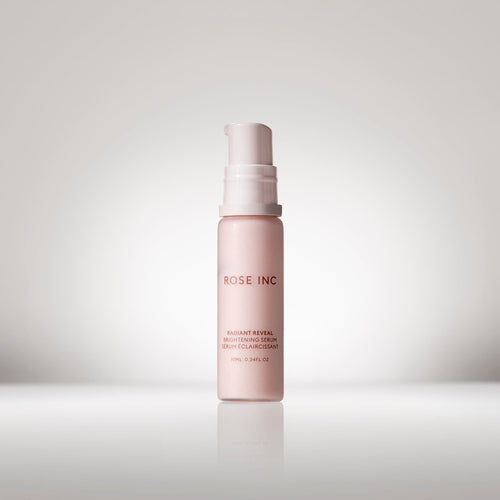
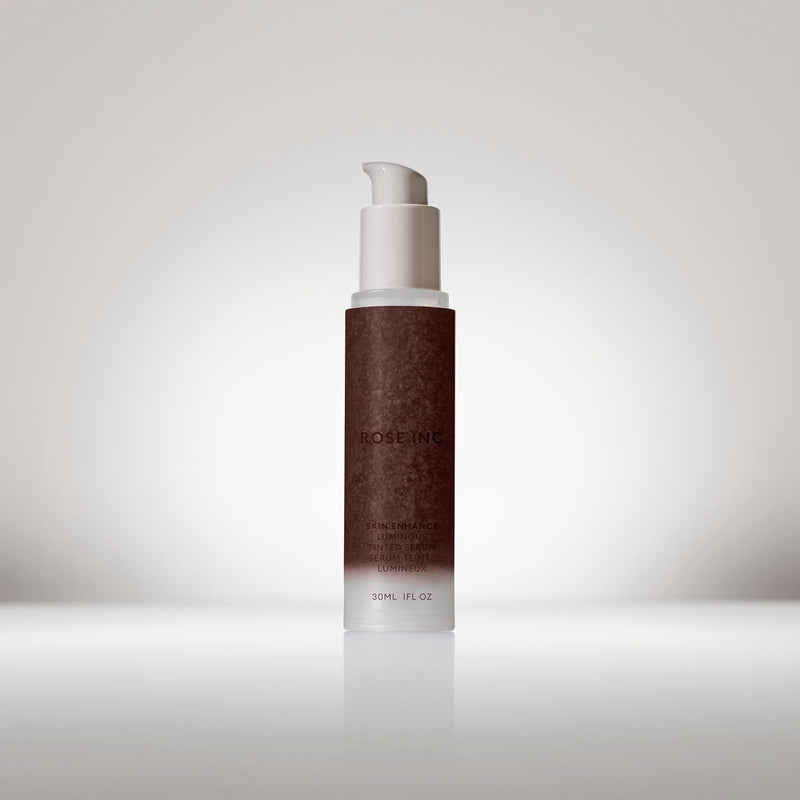
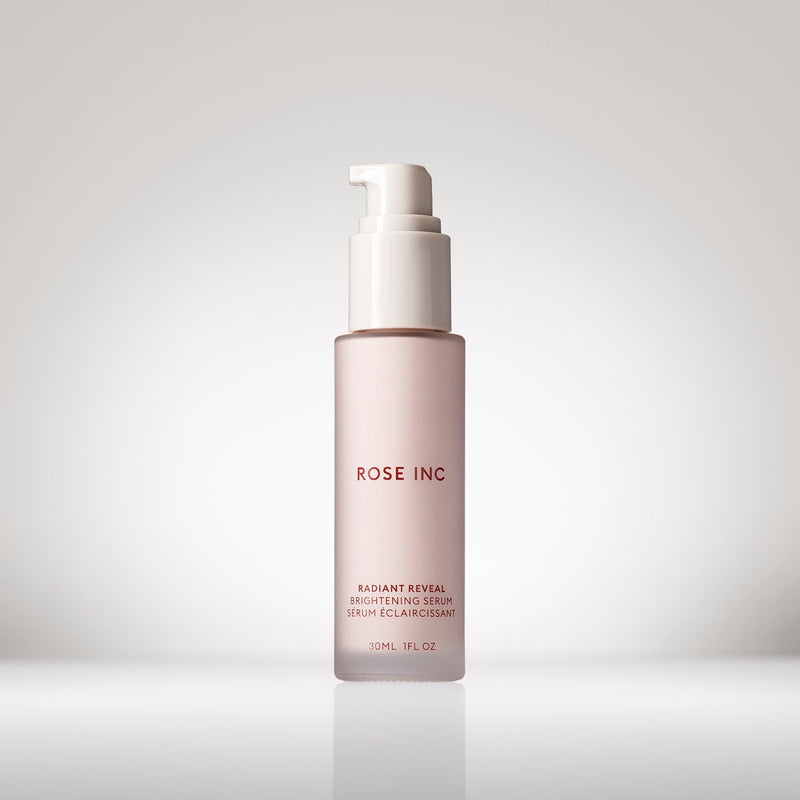
A powerful hydrating serum that instantly brightens the complexion with...
A powerful hydrating serum that instantly brightens the complexion with...
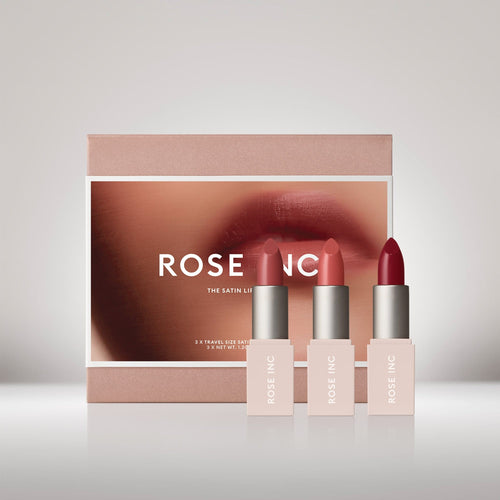
Two mini versions of our bestselling shades and one limited...
Two mini versions of our bestselling shades and one limited...
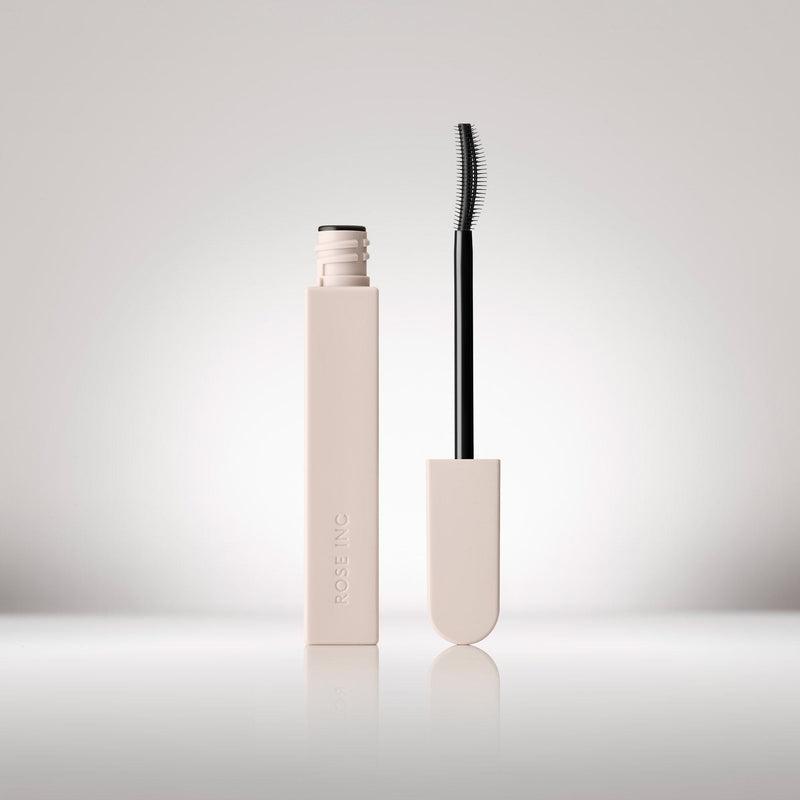
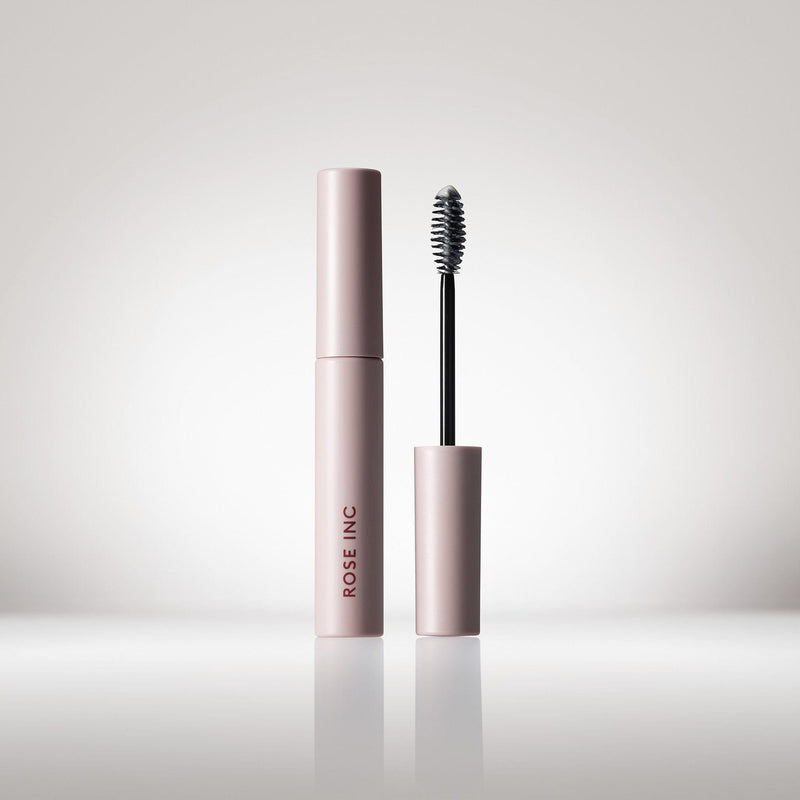
A conditioning pomade-serum hybrid that volumizes and grooms for expertly shaped brows.
A conditioning pomade-serum hybrid that volumizes and grooms for expertly shaped brows.

An angled brush designed for control and seamless blending along...
An angled brush designed for control and seamless blending along...
Your browser is out of date, and may not be compatible with our website.
You can update your browser from the link below.
Download the latest version of your prefered browser